Create URL Preview Cards for Your NextJS App
By James Akpan
What we will cover:
- Why it is important to have URL previews.
- How to create them in NextJS.
- How to test them.
Why it is important to have URL previews
When you share your app's link on social platforms like WhatsApp, Twitter, or Instagram, it can either appear as a plain, uninviting link or transform into a visually appealing card preview with a descriptive thumbnail.
Choosing the latter not only elevates the presentation of your web app but significantly increases the likelihood of user engagement and clicks.
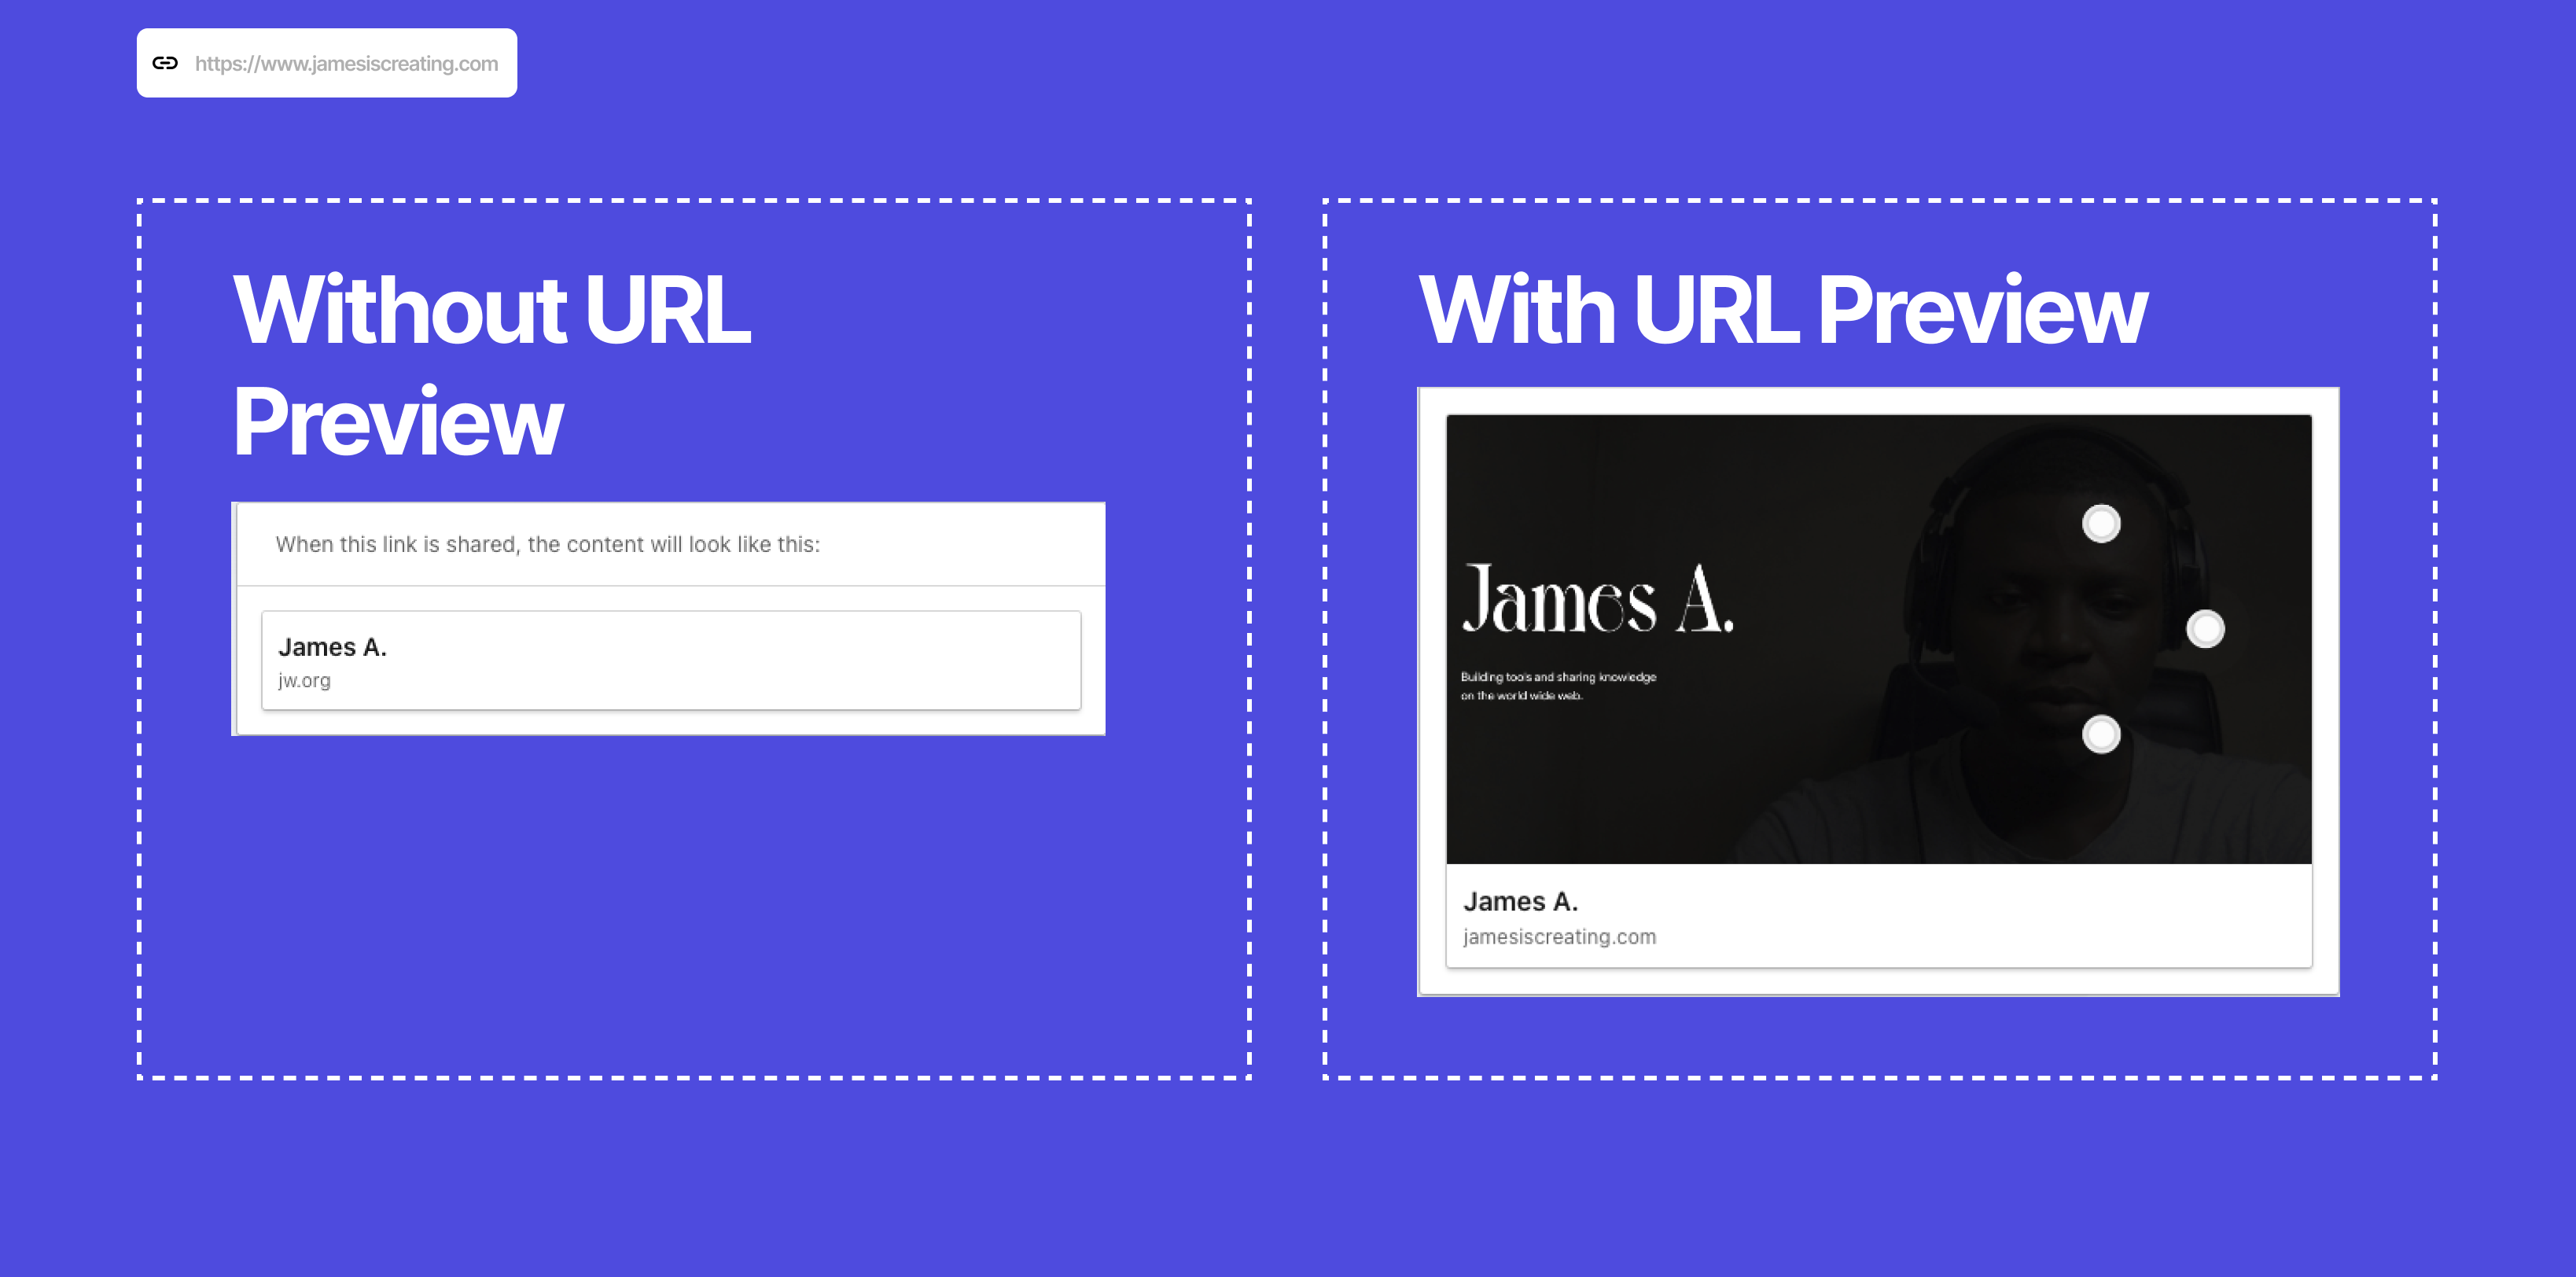
Here is an example of how URL previews can improve the aesthetic of your app's url when you share it:
How to create them in NextJS
NextJS makes creating URL previews very easy. Let's do it in 3 steps:
- Create a
_document.jsor_document.tsxinside thepagesfolder of your NextJS app (if you don't have it already). - Import
Document, { Html, Head, Main, NextScript }fromnext/documentinto this new page. - Copy and paste the code below:
import Document, { Html, Head, Main, NextScript } from "next/document";

class MyDocument extends Document {
  render() {
    return (
      <Html>
        <Head>
          {/* Open Graph Meta Tags */}
          <meta property="og:title" content="YOUR_TITLE_HERE" />
          <meta property="og:description" content="YOUR_DESCRIPTION_HERE" />
          <meta property="og:image" content="YOUR_IMAGE_URL_HERE" />

          {/* Twitter Card Meta Tags */}
          <meta name="twitter:card" content="summary_large_image" />
          <meta name="twitter:title" content="YOUR_TITLE_HERE" />
          <meta name="twitter:description" content="YOUR_DESCRIPTION_HERE" />
          <meta name="twitter:image" content="YOUR_IMAGE_URL_HERE" />

          {/* If you have a Twitter handle, you can add it */}
          <meta name="twitter:creator" content="@YOUR_TWITTER_HANDLE" />
        </Head>
        <body>
          <Main />
          <NextScript />
        </body>
      </Html>
    );
  }
}

export default MyDocument;
And now we simply edit the meta tags to fit our web app's needs.
If you want to, you can read more about the og properties inside the <meta /> tags here.
How to test your URL preview
After adding the code above to your _document.js file and deploying your web app, you can test out what the preview card will look like by visiting the
LinkedIn Post Inspector.
Simply paste in your app's url in the prompt and it will, after some seconds, generate a URL preview of your application.
I hope you found this guide useful in enhancing your web app's presentation on social platforms. Happy coding.